What Is a Polishing Sponge and Why Do You Need One?
If you've ever looked at your car or glass surfaces and wished for a flawless, professional finish, then you probably need a polishing sponge in your toolkit. A polishing sponge is a versatile tool used to smooth and buff surfaces, giving them a like-new shine. But, it's not just for cars—this handy product can be used on furniture, mirrors, and even countertops. So, what makes it so special? A polishing sponge is typically made of soft yet durable materials like foam or microfibre, allowing you to gently work over surfaces without causing scratches. When paired with the right polish, these sponges are perfect for removing minor imperfections like swirl marks or light scratches from paint and glass. Whether you're a professional detailer or just someone looking to give your car a little extra TLC, using a polishing sponge can take your results to the next level. Plus, because it's so easy to use, anyone can get a showroom-quality finish with a little practice. Wondering if it’s worth adding to your toolkit? If you want to protect and maintain the look of your car, furniture, or any polished surface, a good polishing sponge is essential. You'll save time and effort while ensuring you achieve the smoothest, most polished results every time.
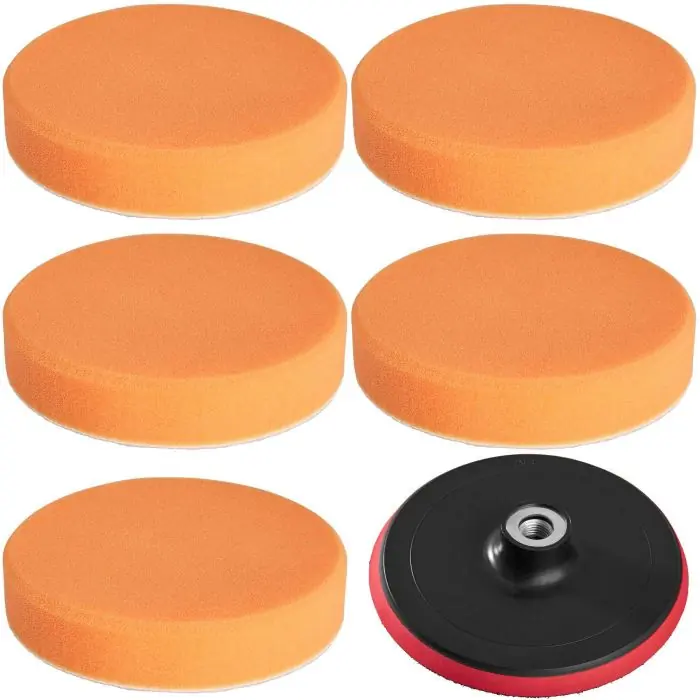
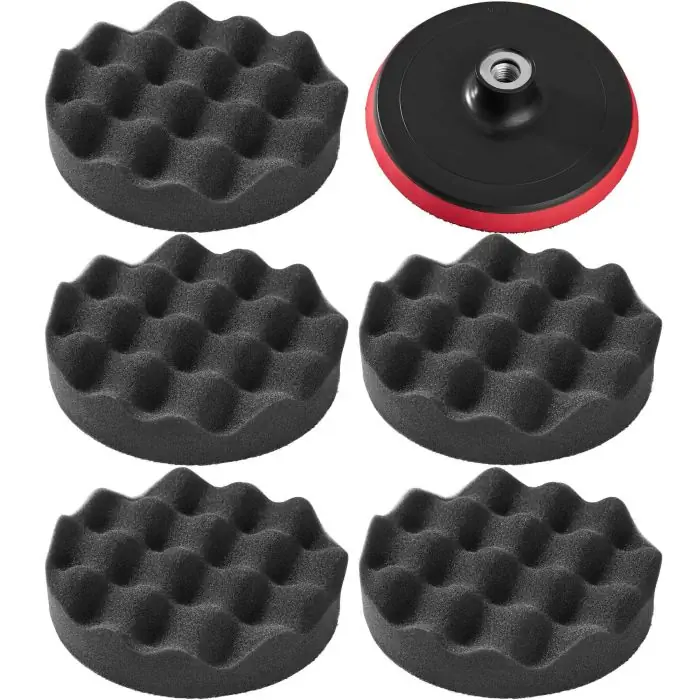
How to Choose the Right Polishing Sponge for Your Project
So, you’re ready to pick out a polishing sponge pad, but how do you know which one is right for your specific project? Not all sponges are created equal, and using the wrong type could leave you with uneven results or even damage the surface. Here’s what you need to know before making your selection. First, consider the material. If you're working on delicate surfaces like glass or highly sensitive paint, look for sponges made with microfibre. These sponges are ultra-soft, which helps prevent scratches while still providing enough friction to remove light defects. For more heavy-duty jobs, like restoring dull or scratched surfaces, a foam buffing sponge might be your best bet. It offers more pressure and is generally more durable. Next, think about the surface area you’ll be working on. A larger sponge will cover more ground, making it ideal for big projects like cars, while a smaller car polish sponge might be better for detail work around tight corners or tricky spots. Lastly, don’t forget to match your sponge with the right polishing compound. The two work together for optimal results. Whether you’re polishing your car's paint or buffing out smudges on your glass surfaces, the right sponge and polish combo will make all the difference. Choosing the right sponge doesn't have to be complicated. Just keep your project's needs in mind, and you’ll have no trouble finding the perfect polishing sponge pad for the job!
Tips for Getting the Best Results with Your Polishing Sponge
Now that you've got the right polishing sponge for your project, it’s time to get to work. But before you dive in, here are a few key tips to make sure you’re getting the most out of your sponge and achieving those flawless finishes. First off, always make sure the surface you're working on is clean and free of any dust or debris. This will prevent any unwanted particles from scratching the surface as you buff. If you're polishing a car, be sure to wash and dry it thoroughly before you begin. Next, apply your polishing compound sparingly. A little goes a long way. Spread a thin, even layer of polish onto the surface or directly onto the car polish sponge, depending on the product's instructions. Too much polish can cause streaking or make it harder to buff out imperfections. When using a buffing sponge, work in small sections, applying light pressure in circular or back-and-forth motions. Let the sponge do the work—there’s no need to press too hard. Over-polishing or applying too much pressure can damage sensitive surfaces like paint or glass. Finally, take your time and check your progress frequently. Depending on the condition of the surface and the type of polish you're using, you may need to go over an area multiple times. If you're polishing your car, for example, step back occasionally to check the finish under different lighting. Remember, patience is key. Rushing the process can lead to uneven results or missed spots. Follow these tips, and you'll achieve a smooth, professional-quality finish that looks like it was done by a pro.
Maintaining Your Polishing Sponge for Longevity
Just like any tool, proper care and maintenance of your polishing sponge pad will ensure it lasts for many projects to come. After all, a well-kept sponge not only gives better results but also saves you money by reducing the need for frequent replacements. So, how do you maintain your sponge? Start by rinsing it thoroughly after each use. Depending on what type of polishing compound you’re using, some of it may get trapped in the pores of the foam or microfibre material. Rinse the sponge with warm water and mild soap to remove any residue, and gently squeeze out the excess water—just don’t wring it out too aggressively, as this could damage the material. Let your sponge air-dry completely before storing it. Storing a damp sponge can lead to mold or mildew growth, which can ruin the sponge and create an unpleasant smell. If possible, store your sponges in a cool, dry place, away from direct sunlight, which can cause the materials to degrade over time. Another important tip: avoid cross-contamination by dedicating specific sponges to certain tasks. For instance, the sponge you use on your paint should be kept separate from the one you use on glass. This will help ensure you're not transferring dirt, grit, or polish residue between surfaces, which could lead to unwanted scratches or dull finishes. By following these simple maintenance steps, you'll get much more life out of your polishing sponge, ensuring it remains effective and ready for the next time you need that perfect finish.